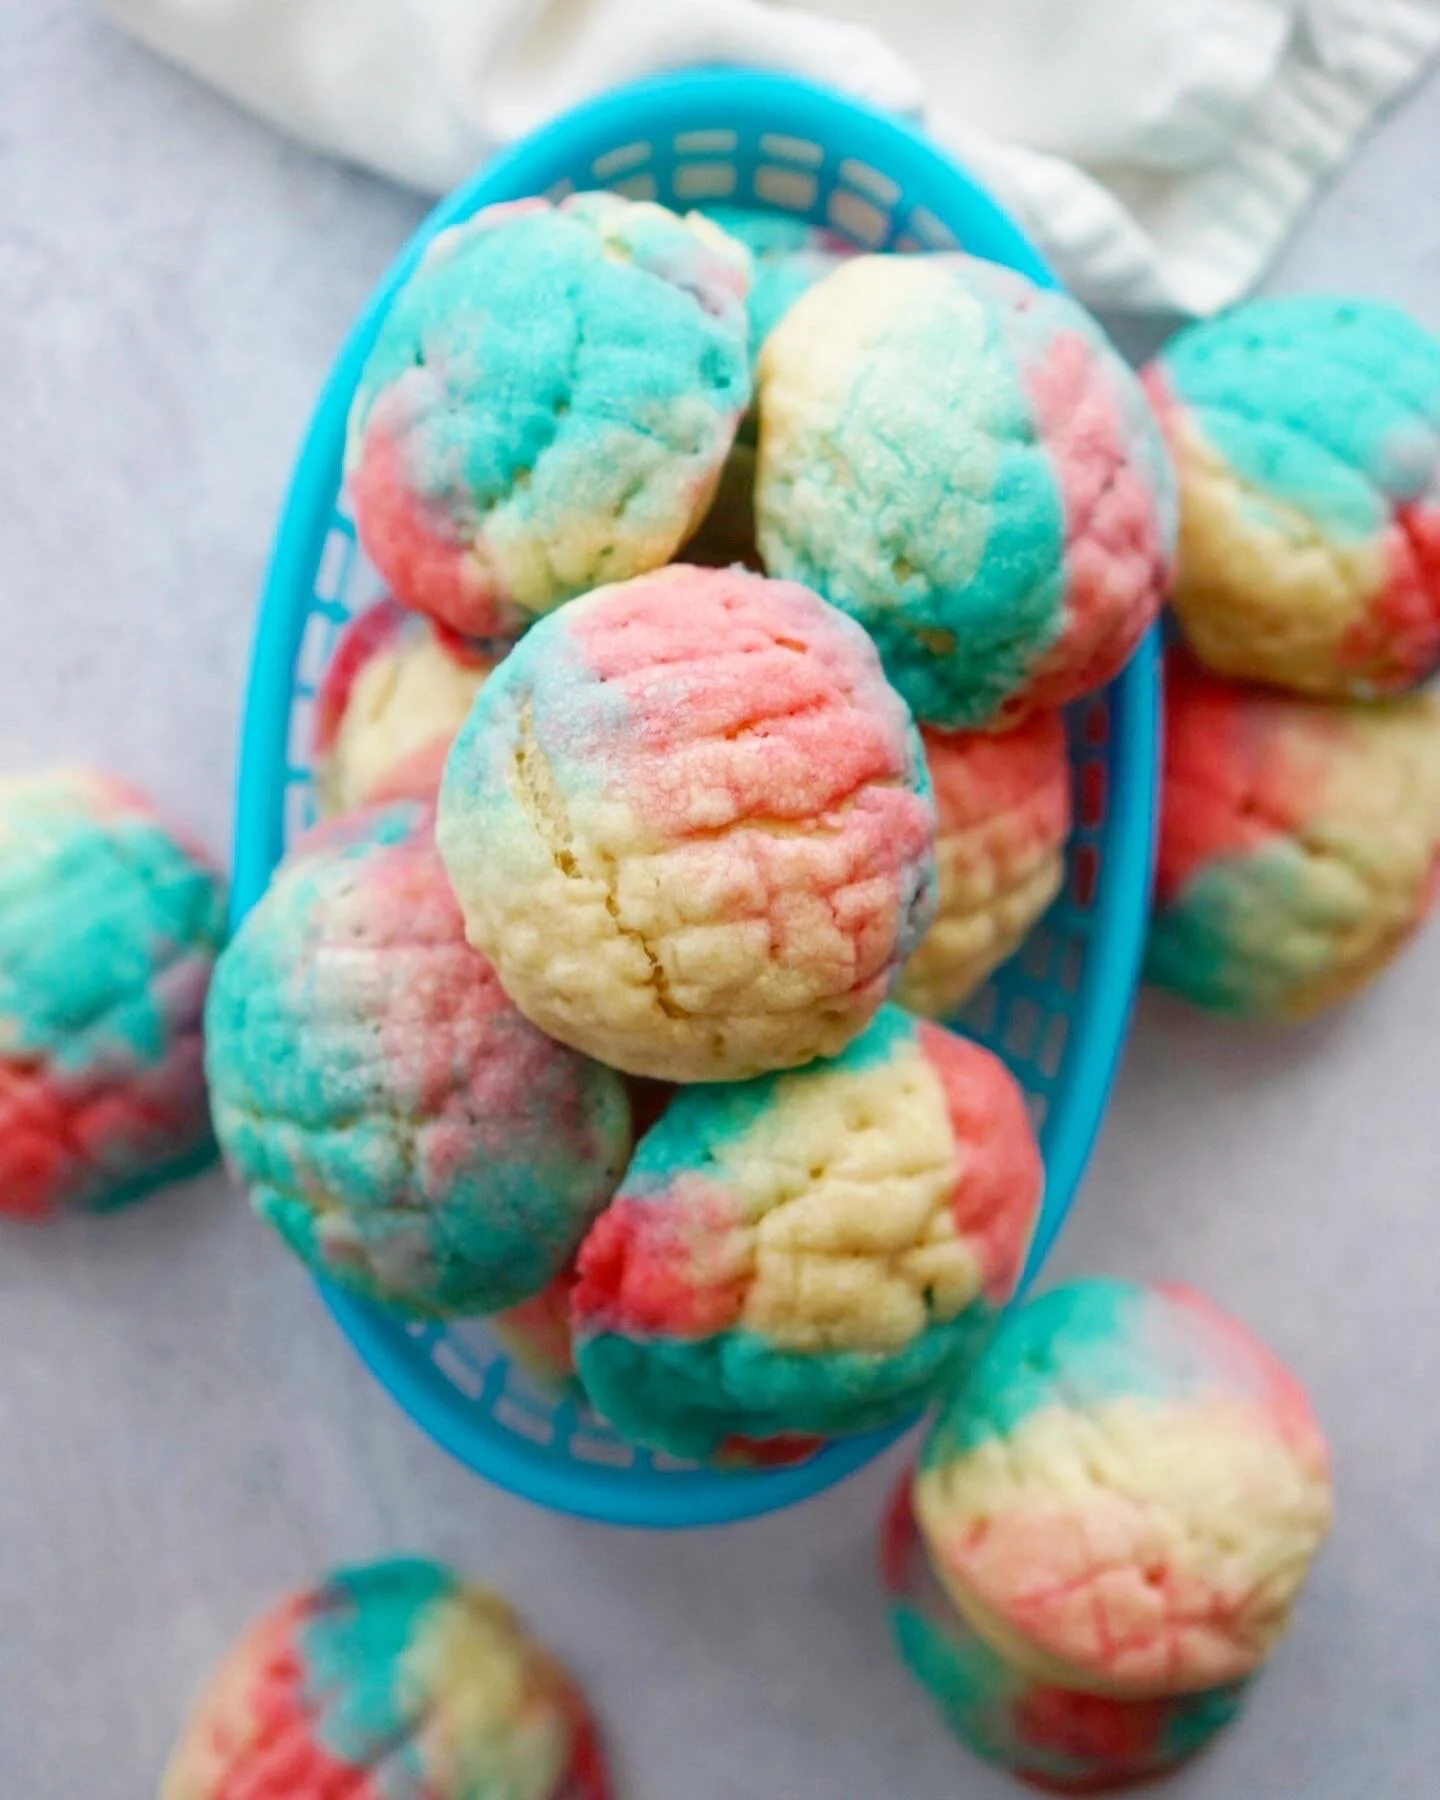
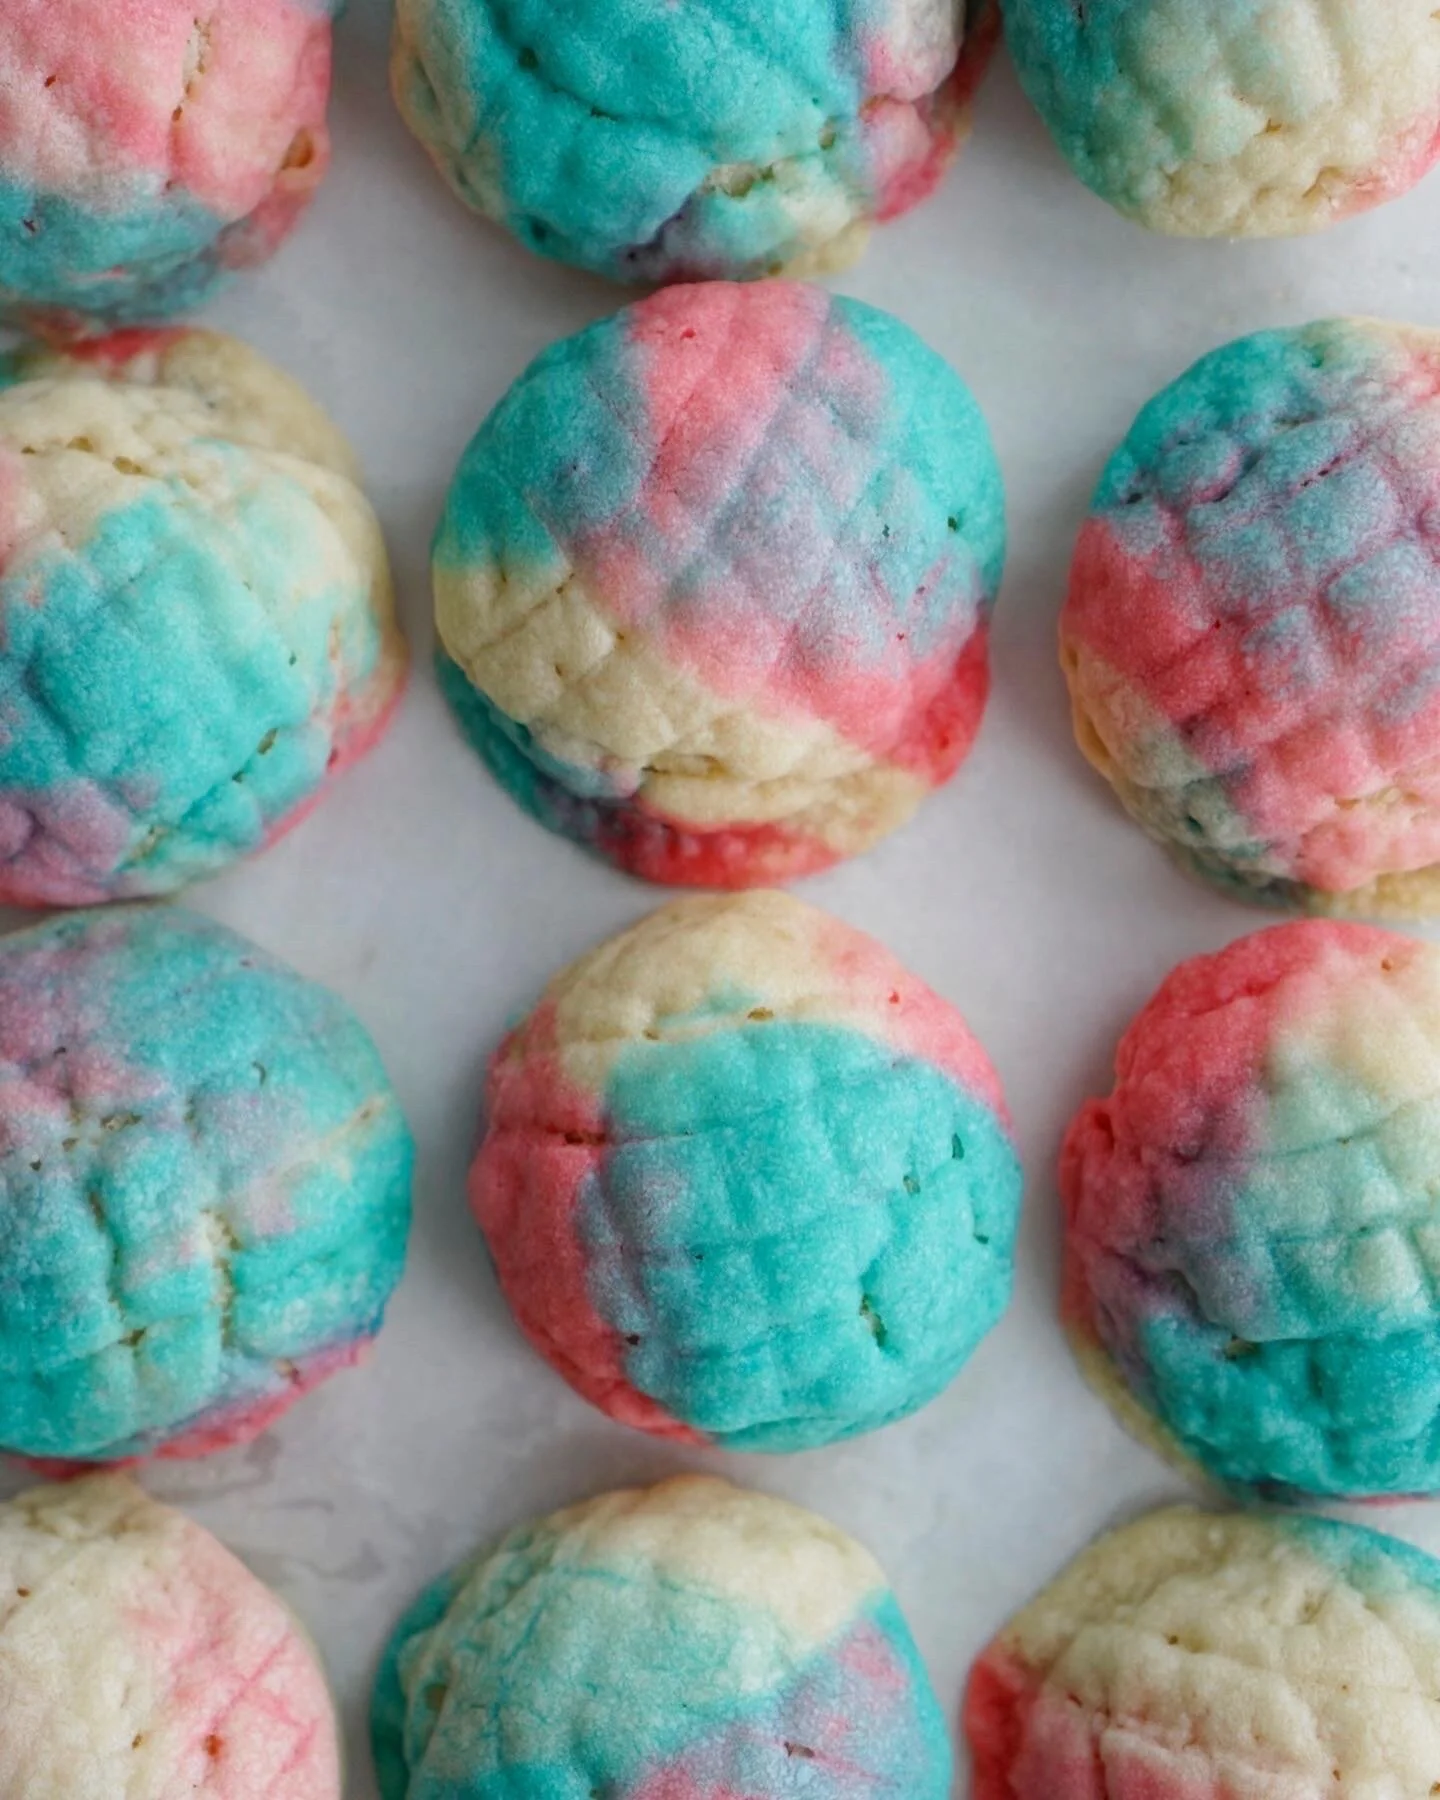
Trans Pride Conchas
June 30, 2020
Conchas are a Mexican sweet bread that get their name from the traditional pattern on the top, which resembles a shell (a “concha” in Spanish). Traditionally, these are made with a brioche dough, but I honestly didn’t have the energy to make brioche so I swapped it out for a simpler dough. Feel free to use your favorite dough (you can even use pre-made pizza dough or biscuit dough!). The real magic is in the topping, which is a very simple shortbread dough. Yes, that means you are putting a cookie on top of a bread roll - genius!
You can also play around with the flavor of the topping - chocolate, chai, strawberry, matcha - and you can even make savory versions - garlic, turmeric, etc.
I made these to celebrate Trans Pride - and it turns out that my choice of a Mexican sweet bread was particularly appropriate. Like many other indigenous cultures, I learned that the Oaxaca region of Mexico has a long history of celebrating and embracing a “third gender” - in this case, the muxes. I highly recommend this great article if you want to learn more about this beautiful culture.

recipe
Dough adapted from King Arthur Pretzel Bite Recipe
Topping recipe adapted from Socially Conchas
Quantity: 18
Total Time: ~2 hours
Ingredients:
Dough
298g (2 1/2 cups) flour
1 teaspoon salt
30 g (2 tablespoons) sugar
7g (2 1/4 teaspoons) instant yeast
198g to 227g (7/8 to 1 cup) warm water*
*Use the greater amount in the winter, the lesser amount in the summer, and somewhere in between in the spring and fall. Your goal is a soft dough.
Topping
95 g (¾ cup) flour
95 g (¾ cup) powdered sugar
95 g (6 tablespoons or ¾ stick) softened butter
5g (1.5 tsp) vanilla extract
Food coloring
5g (1 tablespoon) softened butter - this is for assembling the conchas
Process:
Dough
Place all of the dough ingredients into a bowl, and beat until well-combined. I use the dough hook on my mixer. The dough will look dry initially, but just keep mixing and it will come together. Knead the dough on medium speed for about 5 minutes, until it's soft, smooth, and quite slack.
Place the dough in a greased bowl, cover and place the bowl into the oven. Make sure the oven is off, but turn on the oven light to create some warmth. Let the dough rise for 30 minutes.
While the dough rises, prepare a baking sheet by lining it with parchment paper. Then prepare the topping.
Topping
Sift the flour and confectioners’ sugar in a bowl. Add butter and vanilla extract. Mix until completely incorporated -- this will look crumbly at first and then will come together into a cohesive cookie dough.
Divide dough into roughly equal portions to match the number of colors that you want to use. Add gel food coloring to each portion and mix until the color is well combined.
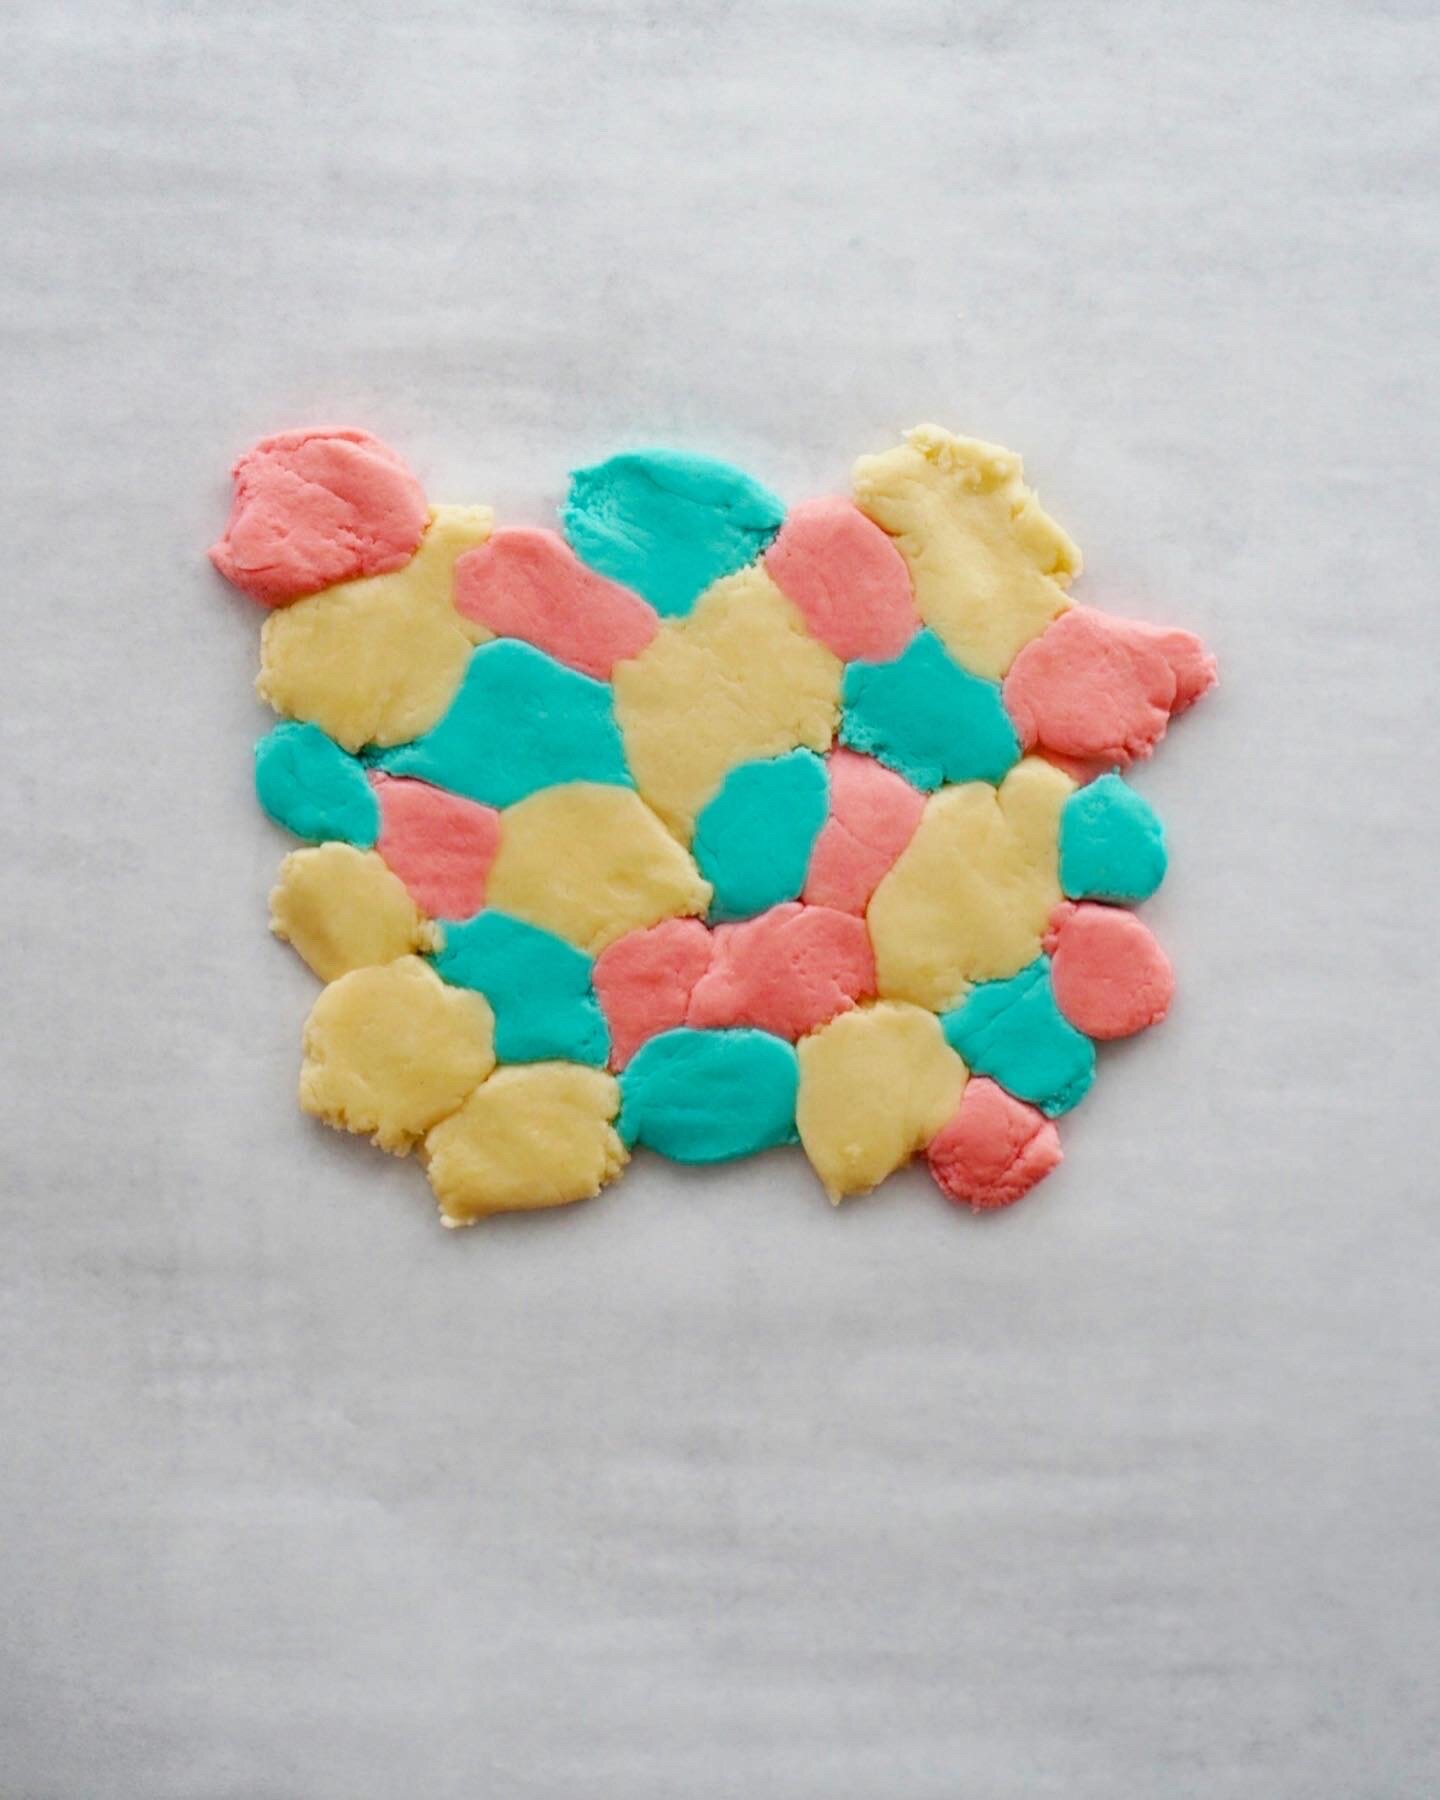
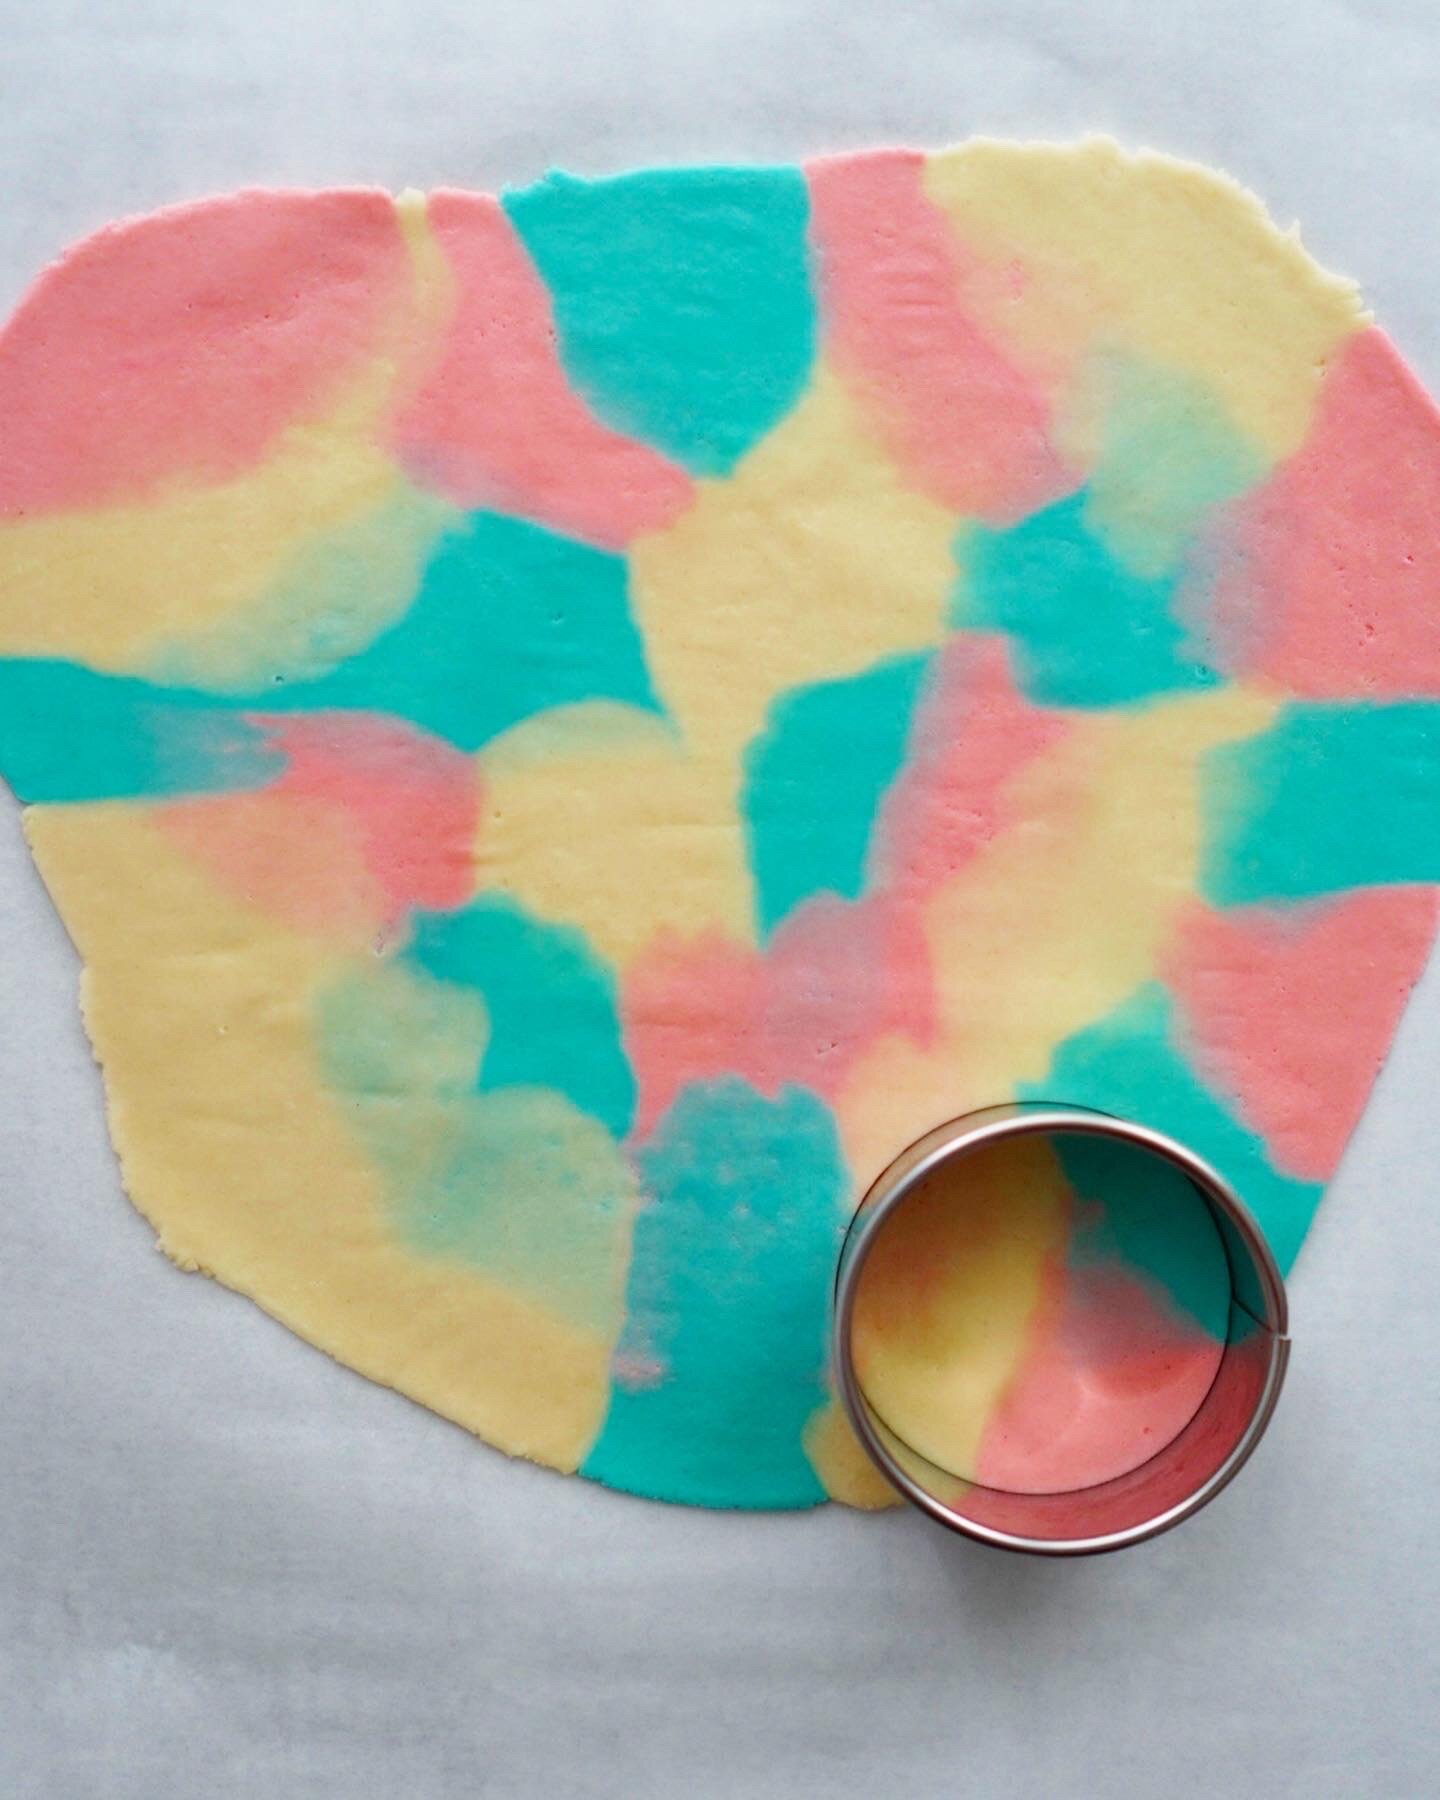
Take small pieces of each color and place onto a piece of parchment paper to create a spackle effect. Place another piece of parchment paper on top. Roll until the dough is approximately ⅛ inch thin. Remove the top layer of parchment and use a 2” cutter to cut circles.
Gently peel the parchment paper away from the back of the circle. If the circle tears, don’t worry, you can smush it back together when you place it on top of the dough. Repeat as necessary until you have enough circles to cover the buns.
Set aside the circles in a single layer - preferably in the refrigerator so that they set and are easier to work with.
ASSEMBLY - see photos below
When ready to assemble buns, preheat the oven to 350 degrees F.
Sprinkle flour on a surface. Divide the dough in 18 equal portions. For me, that was 29 g each (just take your total dough weight, then divide by 18; round down to make sure you have enough dough). Form into balls then transfer to the lined baking sheet. Let them rest covered for 20 minutes.
Take some soften butter and spread it on the surface of the buns with your hand (you can also melt the butter and use a pastry brush).
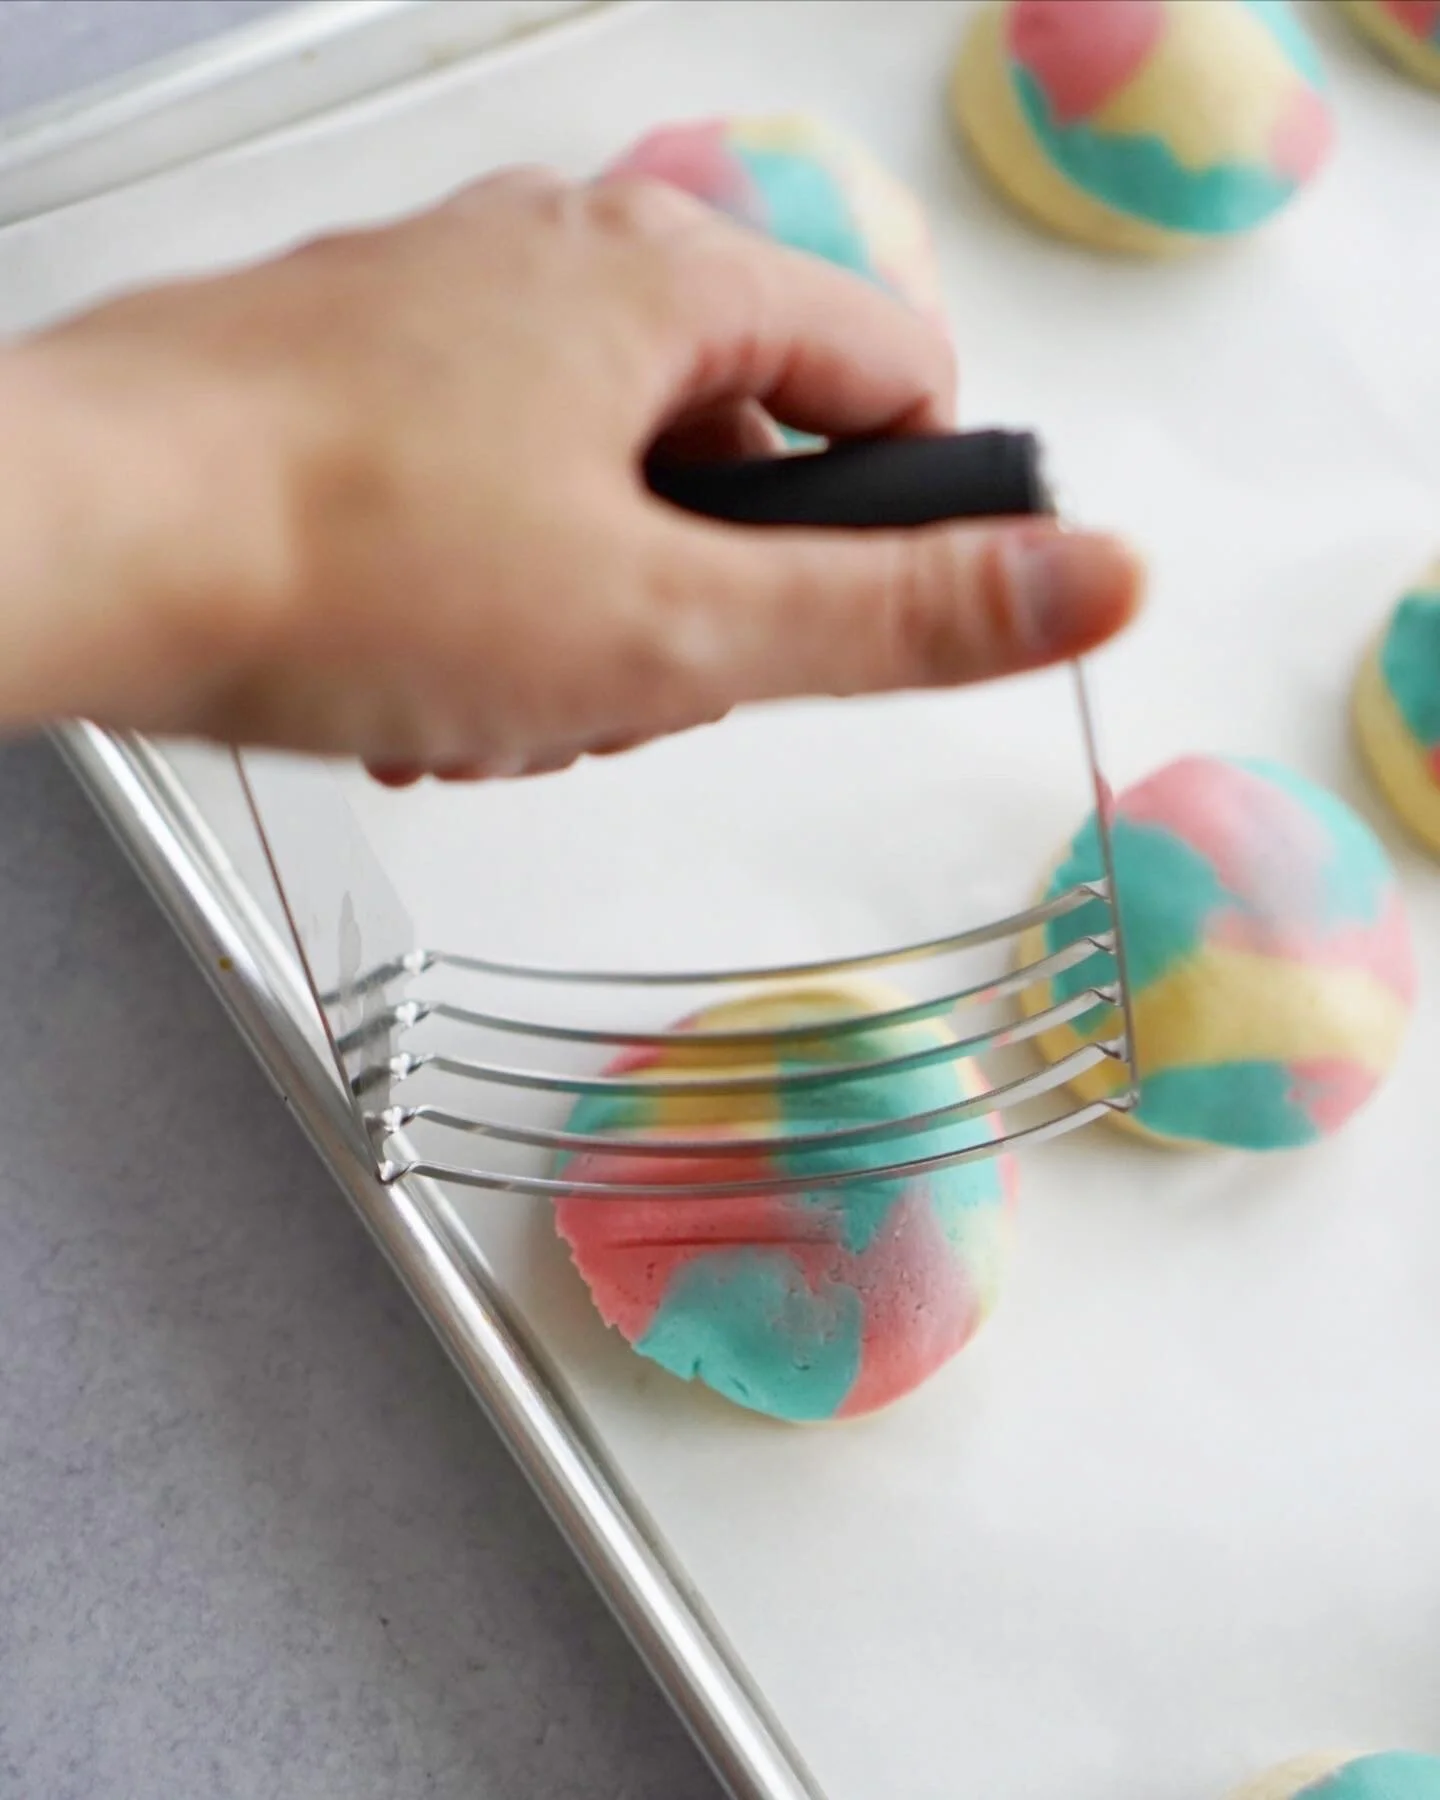
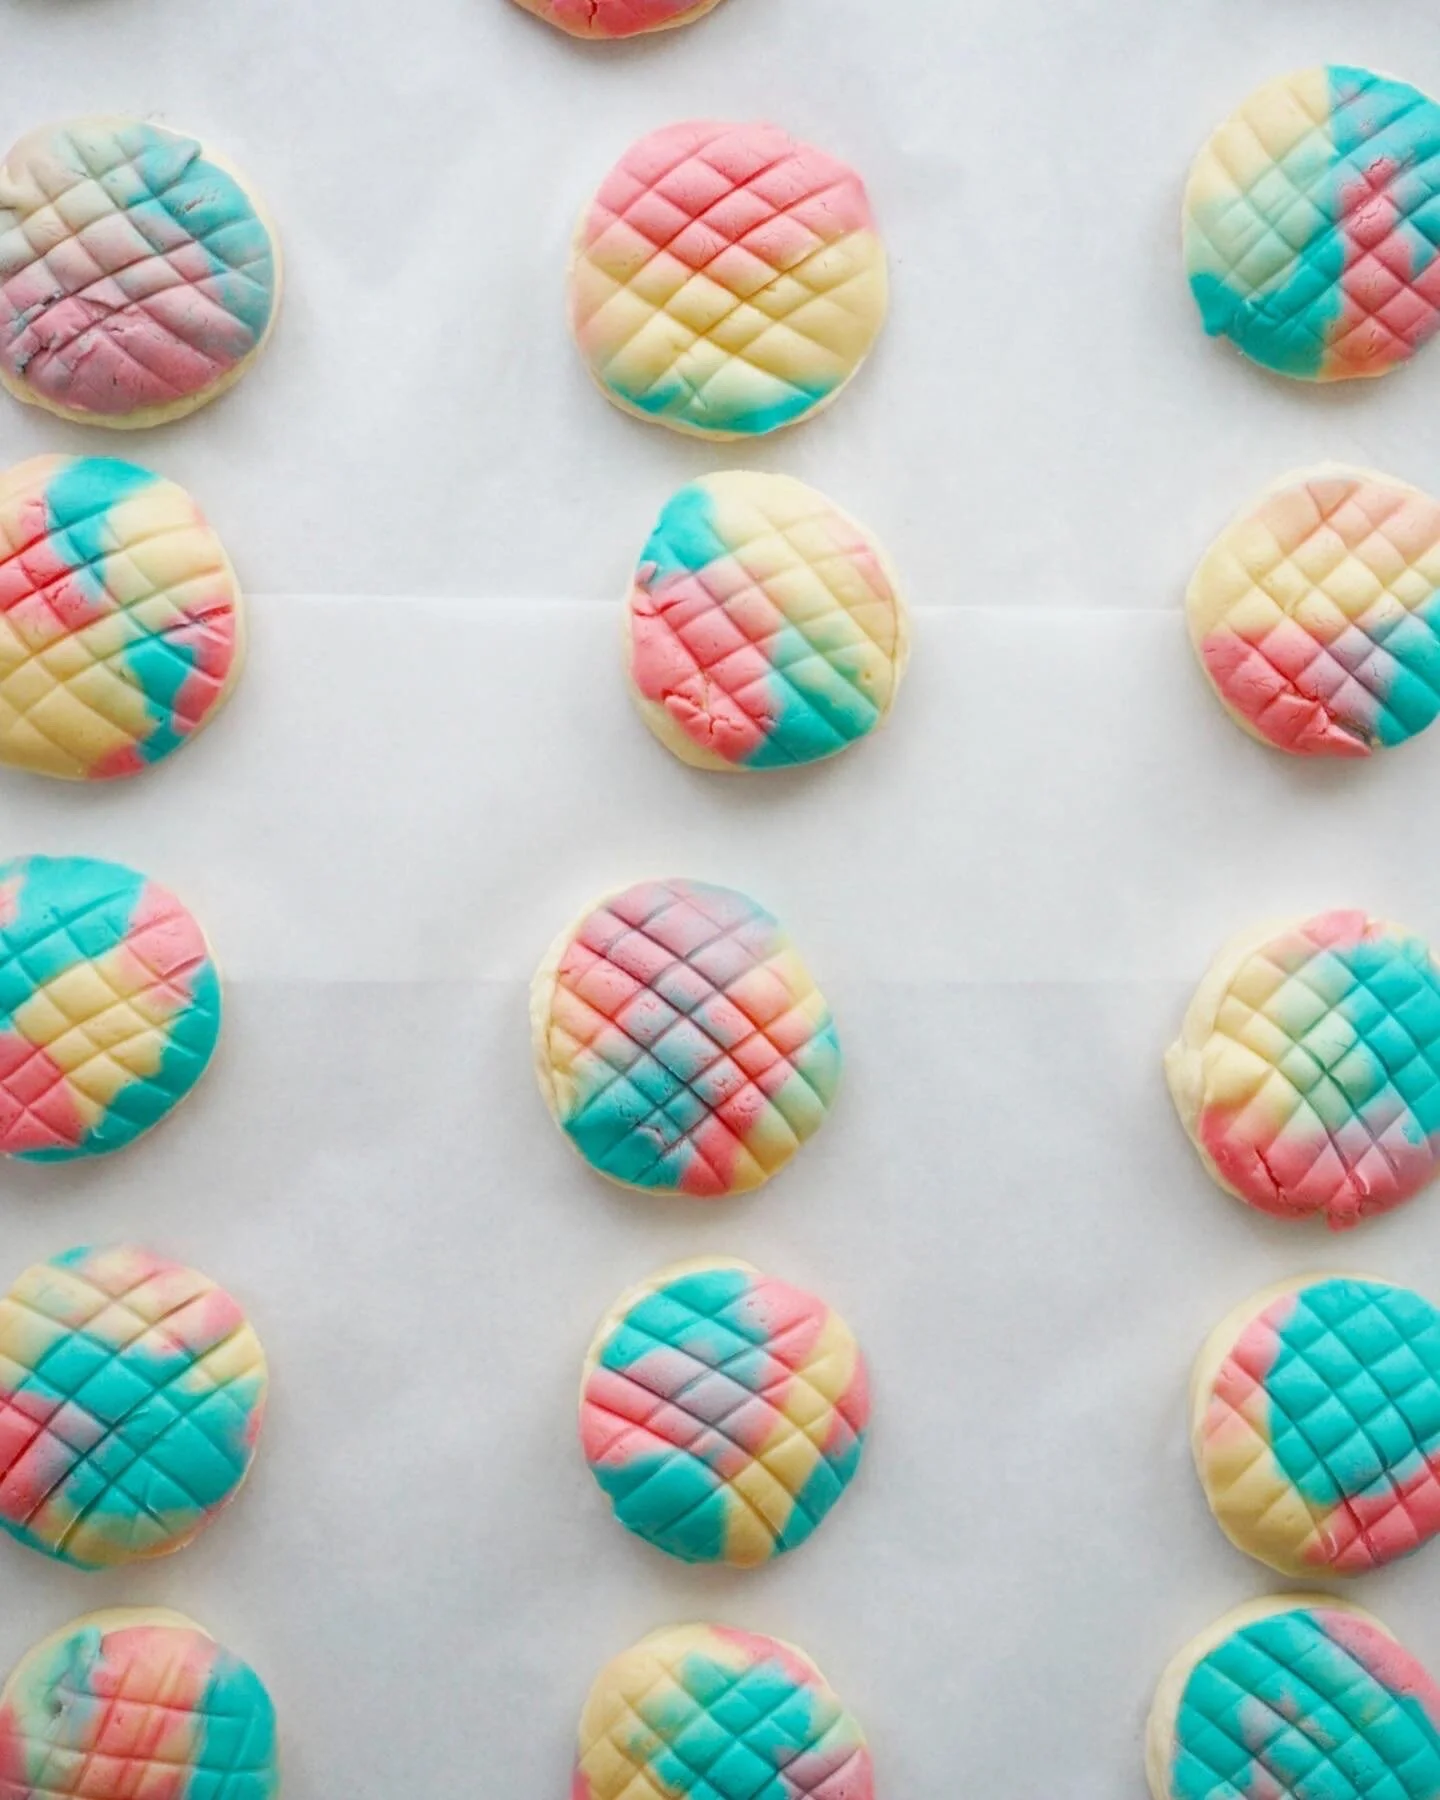
Cover each buns with a circle of the topping and then create a shell design. You can use a concha press or a knife; I use my pastry cutter.
Bake the conchas for 17 minutes, or until the buns turn golden brown. Remove from the oven and cool on the rack. Enjoy while warm!
Conchas are best stored in a brown paper bag that allows air to circulate. If you store in a closed container, the topping can get mushy.
Conchas freeze and reheat well.
Tips:
Use your favorite dough recipe - or make your life easier and use pre-made pizza dough or biscuit dough.
Do not store the finished conchas in an airtight container - the top will get mushy. Store them in a brown paper bag.
If you don’t have a concha press, don’t worry, you can use a knife or a pastry blender.
When adding food coloring, start with a few drops and then build up your color.
Special equipment: concha press, pastry blender or knife. This is to create the pattern on top.